Serverless Framework vs SST
In this post we compare Serverless Framework with SST. We’ll also take a deeper look at what makes SST different.
Let’s start with some quick background.
Serverless Framework
Serverless Framework was launched back in 2015. It’s far and away the most popular way to build serverless applications. It uses a serverless.yml config file to define your infrastructure.
service: my-serverless-app

provider:
  name: aws
  runtime: nodejs12.x
  stage: dev
  region: us-east-1

functions:
  hello:
    handler: handler.hello
    events:
      - http:
          path: hello
          method: get
It converts this YAML file to a CloudFormation template and deploys it to AWS. However for any other infrastructure, you’ll need to define it directly in CloudFormation.
CloudFormation is incredibly verbose and for even simple applications, a template can run over a few thousand lines. For example, here’s an excerpt from a Cognito Identity Pool definition in CloudFormation.
Resources:
  CognitoIdentityPool:
    Type: AWS::Cognito::IdentityPool
    Properties:
      IdentityPoolName: MyIdentityPool
      AllowUnauthenticatedIdentities: false
      CognitoIdentityProviders:
        - ClientId:
            Ref: CognitoUserPoolClient
          ProviderName:
            Fn::GetAtt: ["CognitoUserPool", "ProviderName"]
# ...
To fix this, Serverless Inc. (the company behind Serverless Framework) created, Serverless Components. These allow you to deploy use-case specific serverless applications; including Express apps, React apps, GraphQL apps etc. The critical difference between Serverless Framework and Serverless Components is that in the case of a Component, your source code and AWS credentials will pass through Serverless Inc.’s own servers.
Here’s the relevant disclaimer from the Serverless Components README.
…your source code and temporary credentials will pass through an innovative, hosted deployment engine (similar to a CI/CD product).
In addition to the above, Serverless Inc. provides a monitoring service and will prompt you to create an account with them when you deploy your applications.
Next, let’s look at the local development workflow for Serverless Framework.
Developing Locally in Serverless Framework
Locally, it mocks the Lambda functions by running them in a Node.js process (if the runtime is set to Node.js). This means that when you are testing them locally, you’ll need to isolate the Lambda functions and test them. As a result Serverless Framework developers have two major ways of developing locally; mocking the AWS services or deploying repeatedly.
Serverless Framework developers test locally by either mocking the AWS services or repeatedly deploying to AWS.
Mocking Locally and Using serverless-offline
It’s common to have a list of mock events that you can use to test your Lambda functions. For example, to test an API that needs authentication and takes a request body, you might have a file that looks like:
{
  "body": "{\"content\":\"hello world\",\"attachment\":\"hello.jpg\"}",
  "requestContext": {
    "identity": {
      "cognitoIdentityId": "USER-SUB-1234"
    }
  }
}
To test your Lambda function you’ll run the following while pointing to the mock event above.
$ serverless invoke local --function create --path mocks/create-event.json
Alternatively, you can use the community created serverless-offline plugin. It can mock API endpoints. So if your application has an API endpoint, this will run a local server to mock that endpoint and invoke your Lambda function. However, if your API uses some form of authentication, you’ll need to mock that as well.
You need community plugins like serverless-offline to mock the AWS API Gateway locally. But these only work for some of the AWS services.
The above works mainly for API endpoints. For other services you’ll need to find a different plugin or use something like LocalStack. But these are slow, incomplete, and hard to use.
Repeatedly Deploying to AWS
As a result, most developers eventually end up deploying to AWS to test their changes. So their workflow looks like.
- Make a code change to a Lambda function.
- Run
serverless deploy function -f functionName - Invoke the service that triggers the function
- Wait for the CloudWatch logs by running
serverless logs -f functionName - Repeat the process…
While this process works, it requires you to wait to see your results. Making for a really slow feedback loop.
Testing locally by repeatedly deploying your Lambda function creates a slow feedback loop.
SST
In contrast, SST was launched in early 2021 and has since grown rapidly to become the new way to build full-stack serverless applications. It uses AWS CDK to define your infrastructure. You define your stacks using real programming languages like JavaScript or TypeScript.
export function MyStack({ stack }) {
  // Create the HTTP API
  const api = new Api(stack, "Api", {
    routes: {
      "GET /": "functions/lambda.handler",
    },
  });

  // Show the API endpoint in the output
  stack.addOutputs({
    ApiEndpoint: api.url,
  });
}
The CDK code here gets compiled down to CloudFormation templates, similar to the Serverless Framework case. But CDK code allows you to easily create and maintain your infrastructure, instead of having to work with verbose YAML files. Also, since we are working with a programming language, we can create reusable classes to help us maintain our codebase.
Developing Locally in SST
SST was initially developed to solved the local development problem with serverless. It features a Live Lambda Development environment. It allows you test your serverless apps live.
It does this by deploying your application to AWS and proxying any Lambda function requests to your local machine. It’ll then execute these locally and send the response back to AWS. This means that you don’t need to mock anything and you can test against your deployed infrastructure.
SST allows you to test against your deployed infrastructure by proxying any requests from AWS to your local machine.
It also allows you to set breakpoints and test against live data from the connected AWS services. SST will hot-reload your changes and blocks any incoming requests to ensure that you are always testing against the latest changes.
You can set breakpoints and test against live data in SST.
We’ll look at how to do this a little later in this post.
Comparison
Let’s quickly summarize the comparison between the two frameworks.
| Serverless Framework | SST | |
|---|---|---|
| Founded | 2015 | 2021 |
| Architecture | Partly open source with hosted deployment engine | Completely open source and self-hosted |
| Infrastructure Definition | CloudFormation | CDK |
| Hard to manage large applications | Easy to reuse infrastructure code | |
| Local Development | Mocking or serverless-offline | Live Lambda Dev |
| Repeatedly deploying changes | Setting breakpoints | |
| Flexibility | Use community plugins | Use any CDK construct |
| Create your own plugin | Write your own CDK construct |
Live Lambda Development
Next, let’s look at in detail how SST allows you to test your serverless apps locally. We’ll be using VS Code in this example. SST allows you to set breakpoints through VS Code.
 Let’s start by using the VS Code example.
$ npx create-sst@latest --template=examples/vscode vscode
$ cd vscode
This example comes with a VS Code Launch Configuration, .vscode/launch.json.
We are creating a simple API in our app. It’s defined in stacks/MyStack.ts.
import { Api, StackContext } from "@serverless-stack/resources";

export function MyStack({ stack }: StackContext) {
  // Create the HTTP API
  const api = new Api(stack, "Api", {
    routes: {
      "GET /": "functions/lambda.handler",
    },
  });

  // Show the API endpoint in the output
  stack.addOutputs({
    ApiEndpoint: api.url,
  });
}
And when we hit this endpoint, it triggers our Hello World Lambda function in functions/lambda.ts.
import { APIGatewayProxyEventV2, APIGatewayProxyHandlerV2 } from "aws-lambda";

export const handler: APIGatewayProxyHandlerV2 = async (
  event: APIGatewayProxyEventV2
) => {
  const message = `The time in Lambda is ${event.requestContext.time}.`;
  return {
    statusCode: 200,
    headers: { "Content-Type": "text/plain" },
    body: `Hello, World! ${message}`,
  };
};
Now if you open up your project in VS Code, you can set a breakpoint in your functions/lambda.ts.
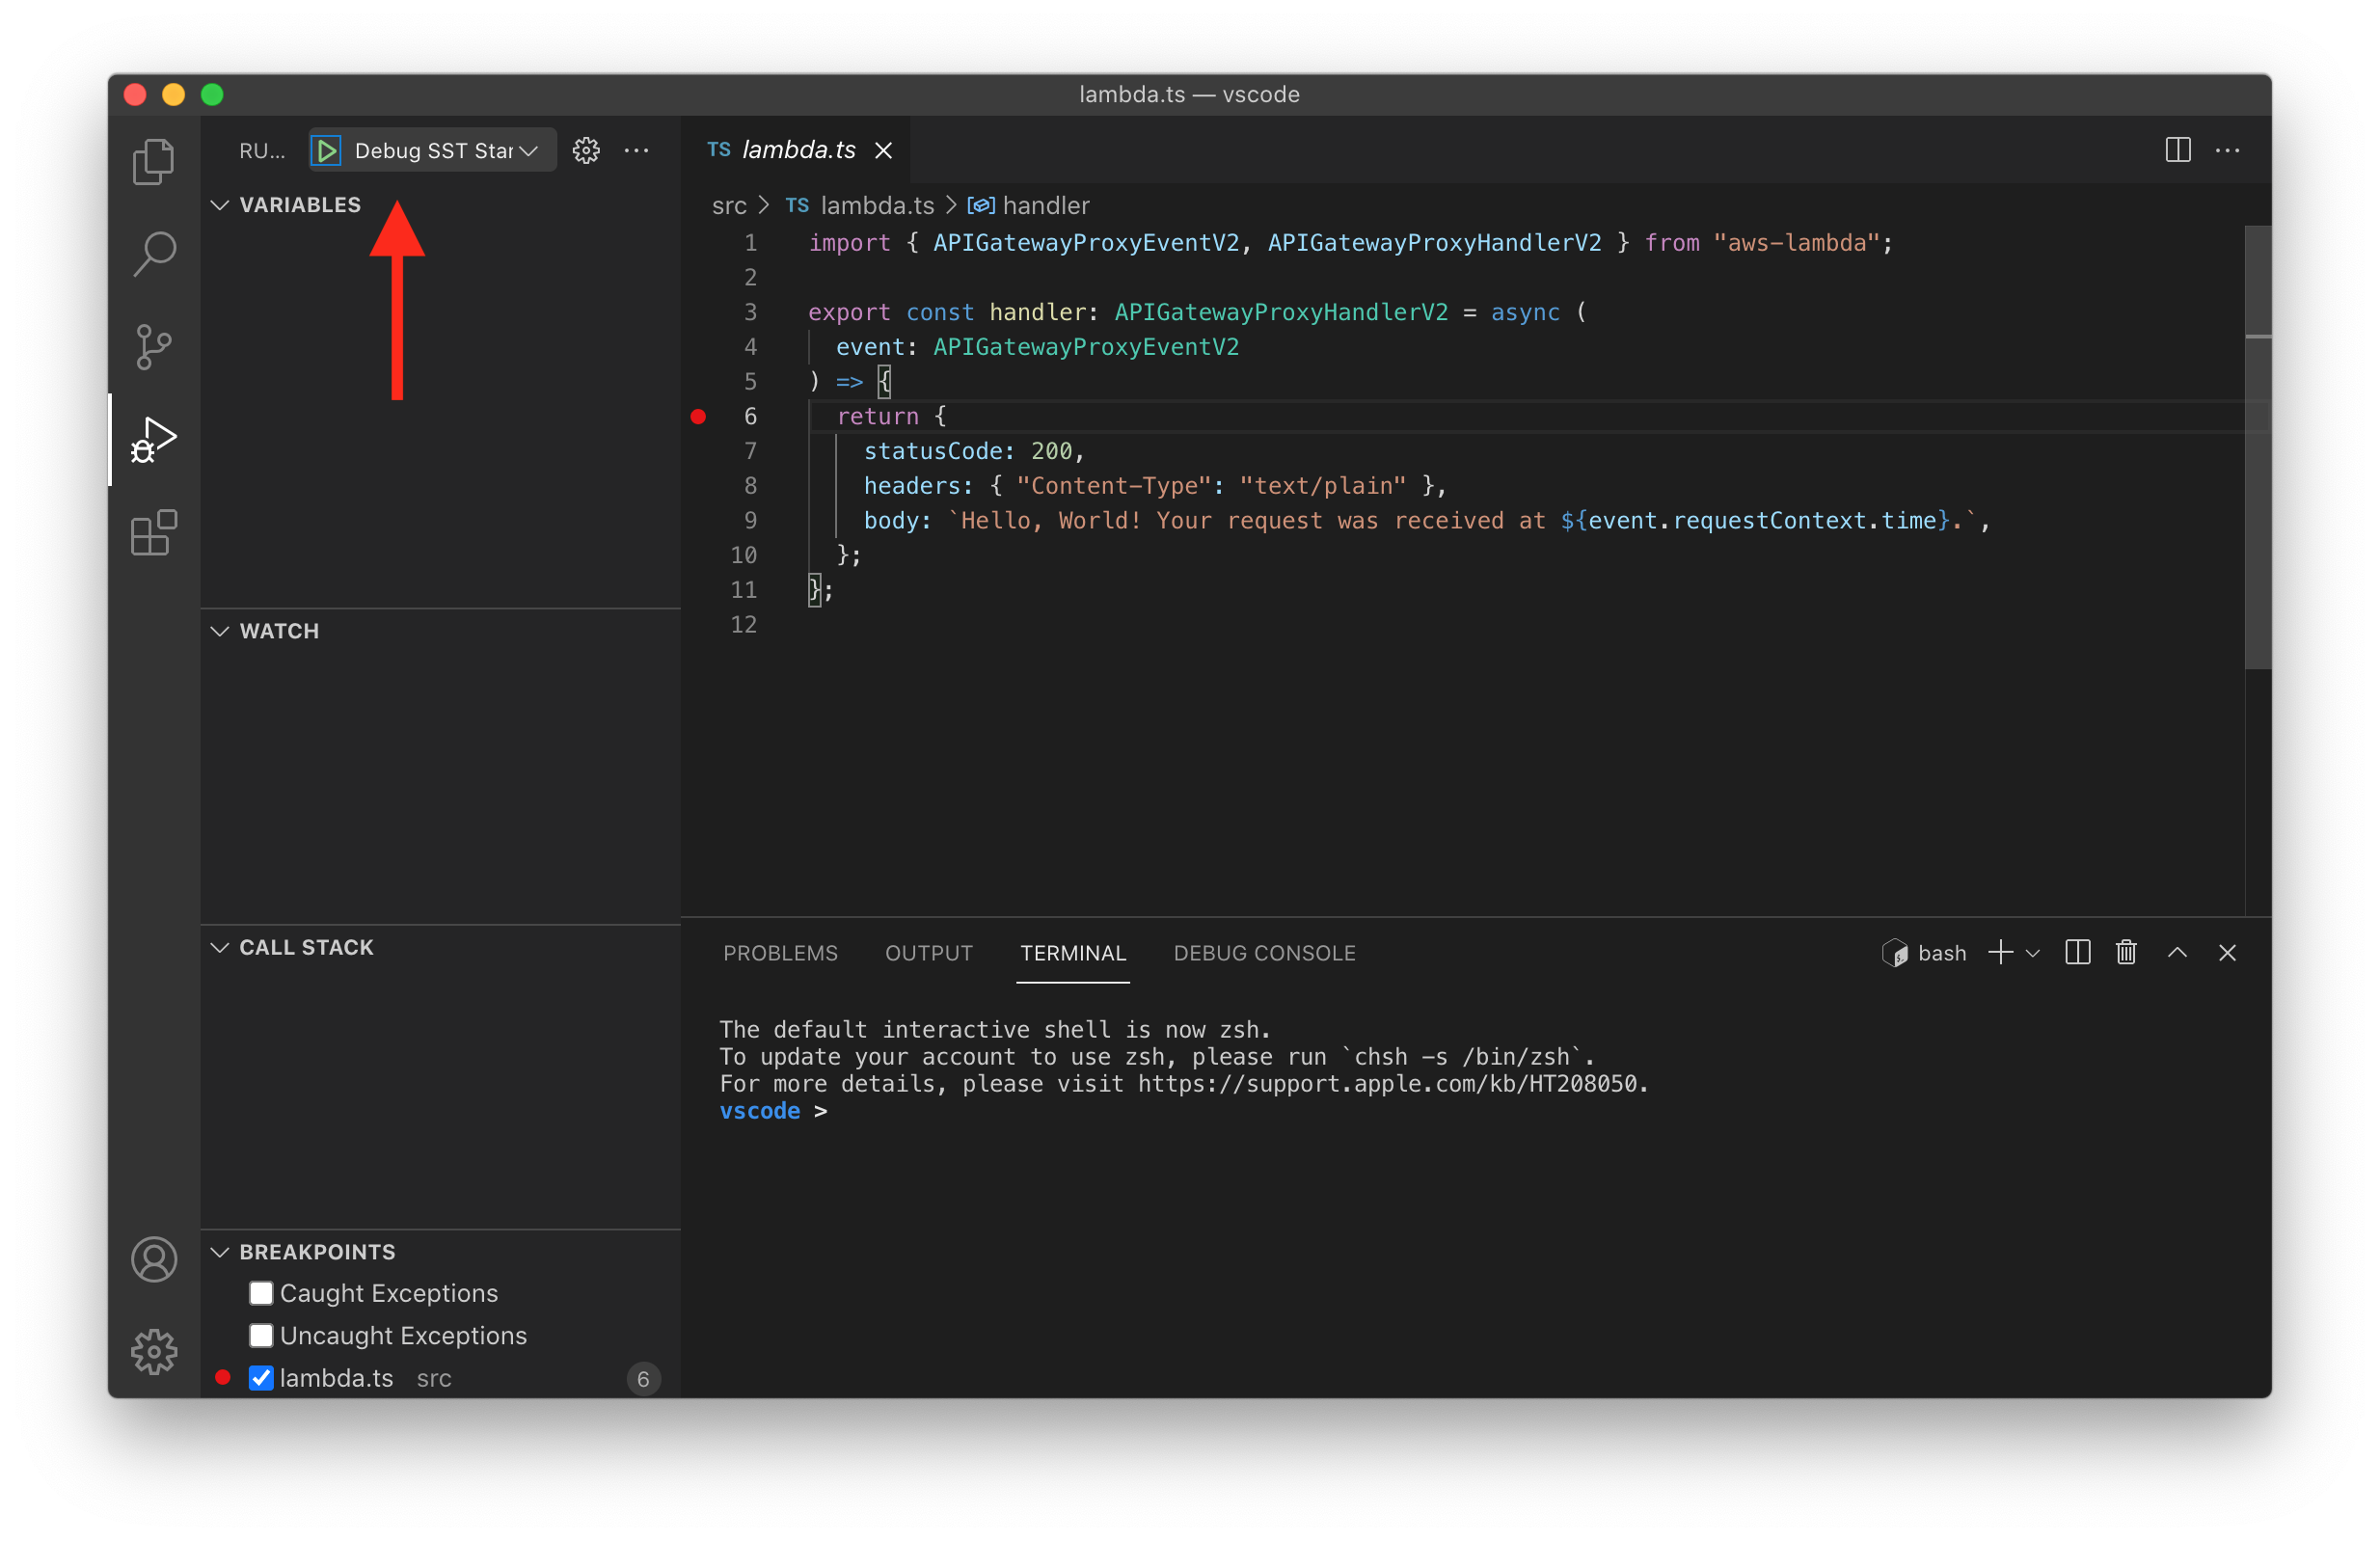
Next, head over to VS Code. In the Run And Debug tab > select our Launch Configuration, Debug SST Start, and hit Play.

The first time you start the Live Lambda Development environment, it’ll take a couple of minutes to do the following:
- It’ll ask you for a default stage to deploy to, based on your AWS username. This ensures that you and your teammates have separate local environments.
- It’ll then bootstrap your AWS environment to use CDK.
- Deploy a debug stack to power the Live Lambda Development environment.
- Deploy your app, but replace the functions in the
src/directory with ones that connect to your local client. - Start up a local client.
Once complete, you should see something like this.
===============
 Deploying app
===============

Preparing your SST app
Transpiling source
Linting source
Deploying stacks
dev-vscode-my-stack: deploying...

 ✅  dev-vscode-my-stack


Stack dev-vscode-my-stack
  Status: deployed
  Outputs:
    ApiEndpoint: https://siyp617yh1.execute-api.us-east-1.amazonaws.com
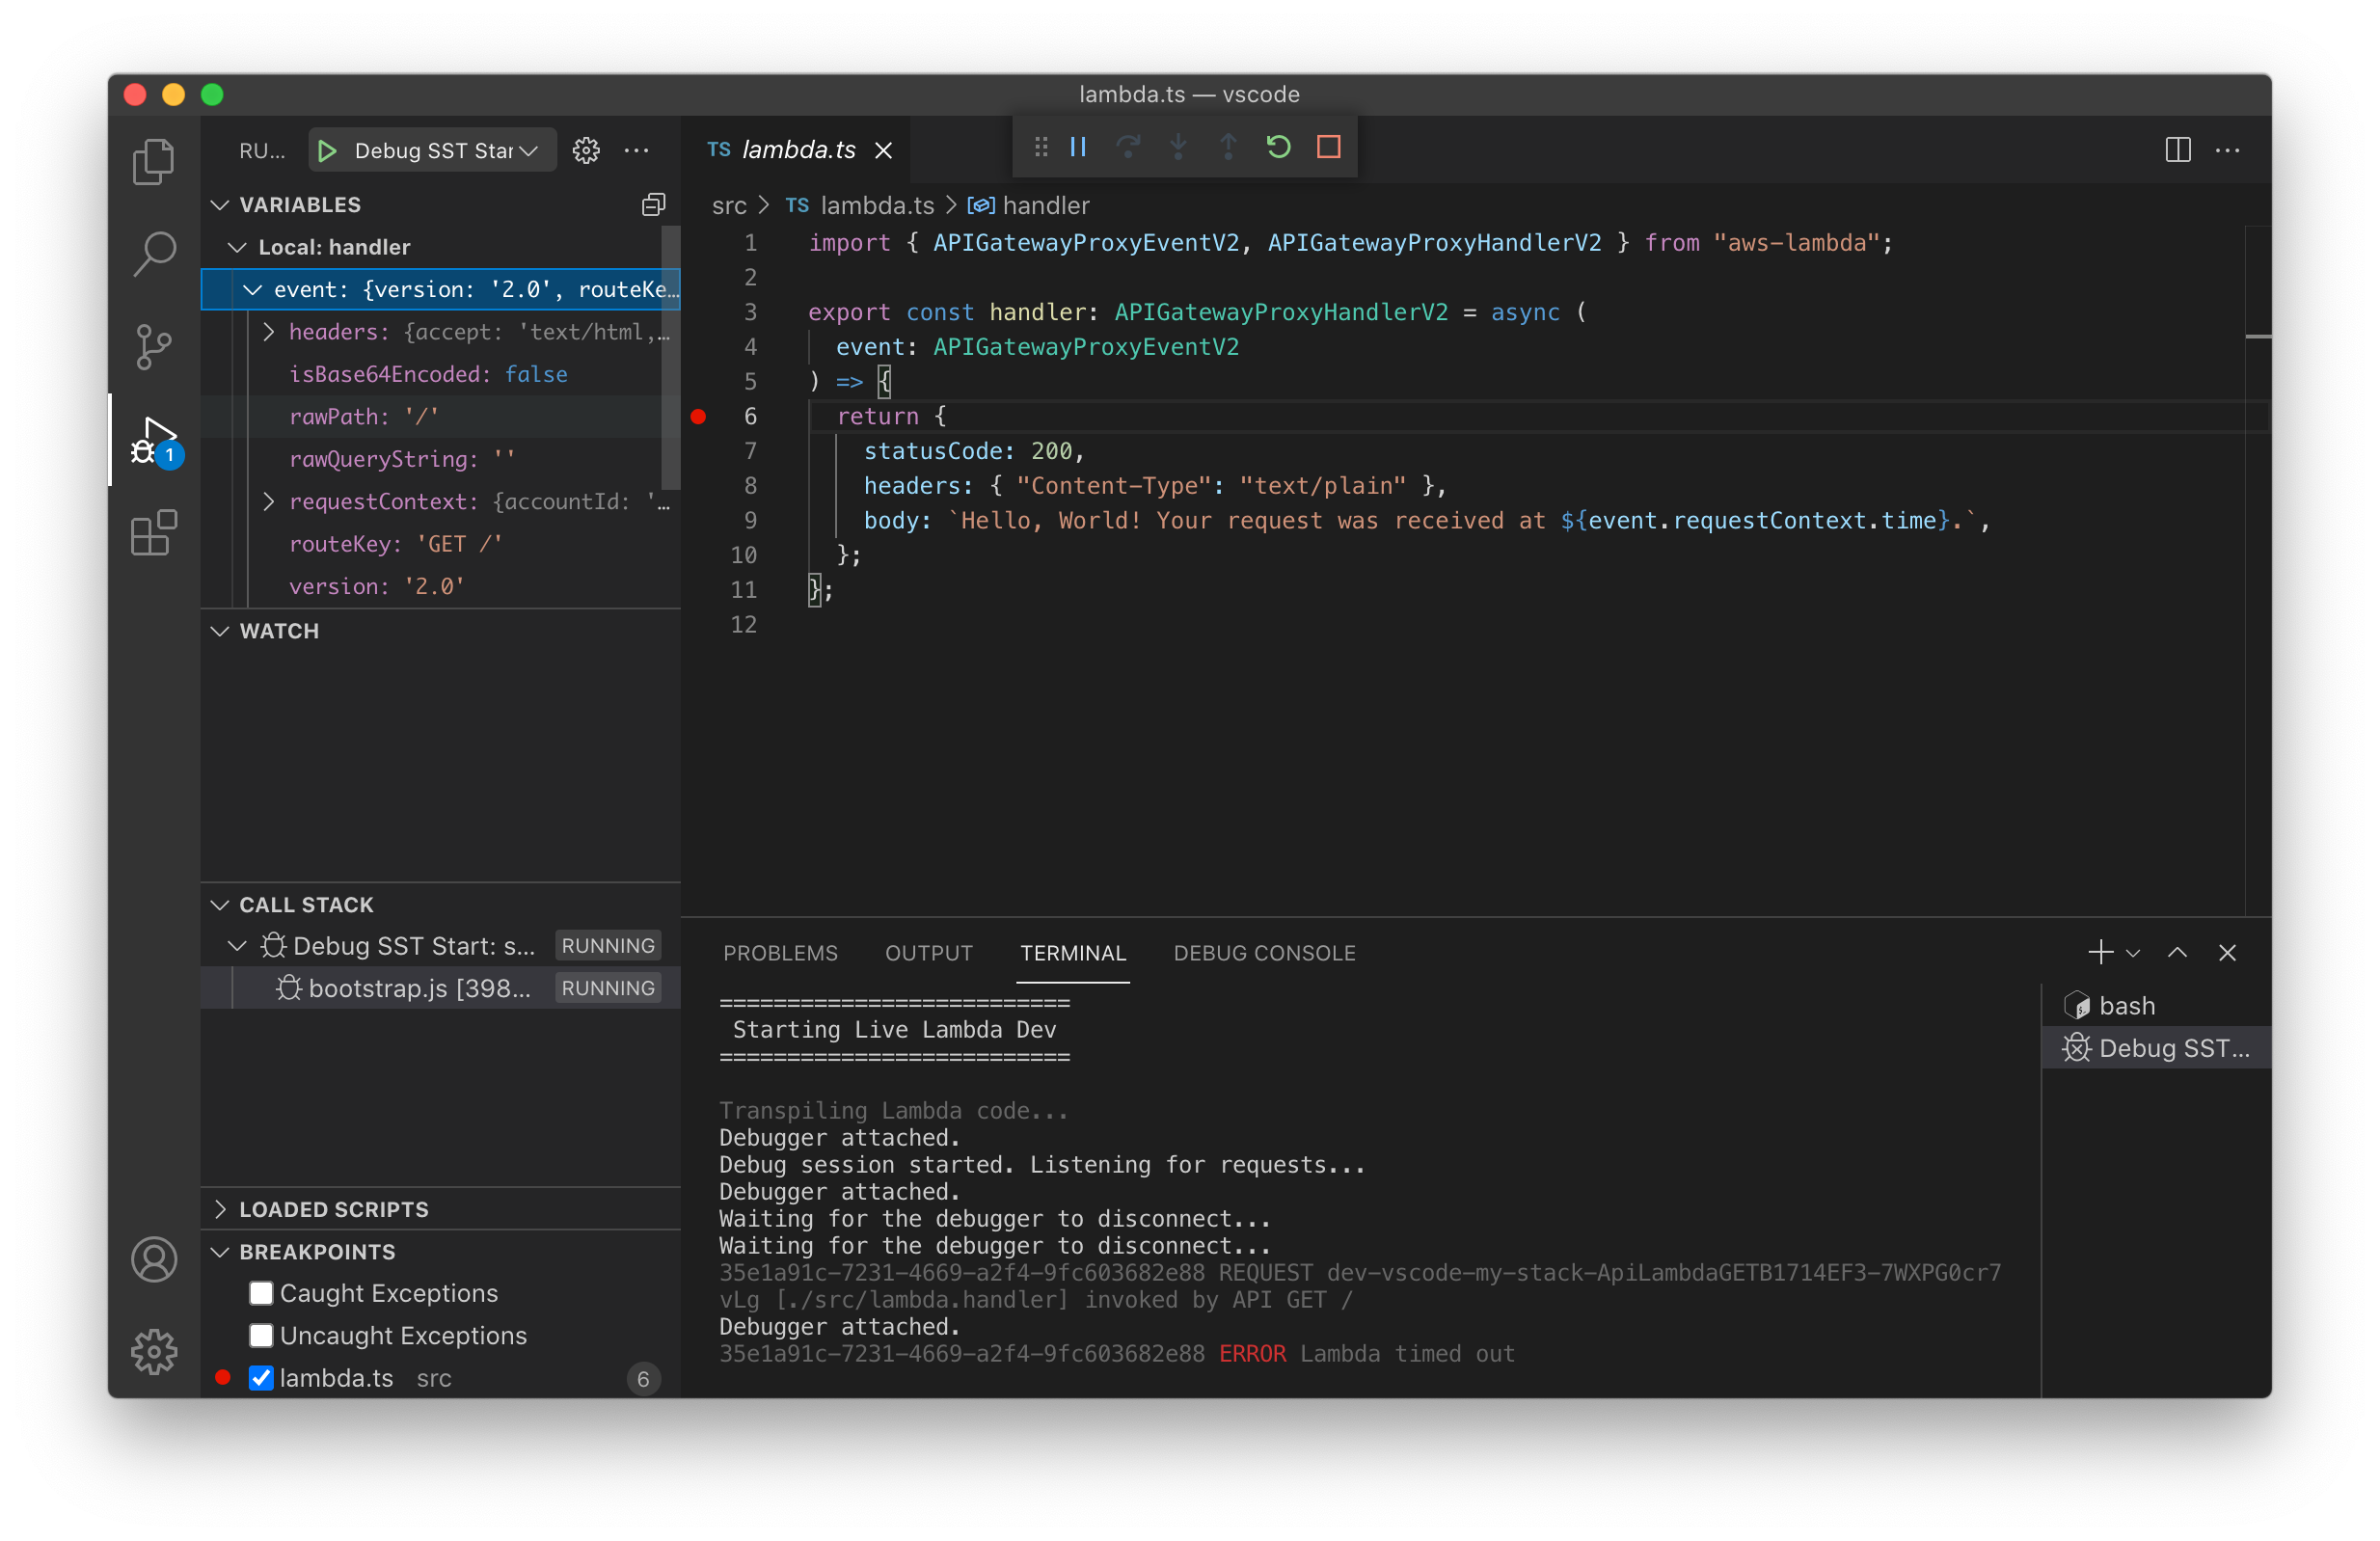
The ApiEndpoint is the API we just created. Now if you head over to that endpoint in your browser, you’ll notice that you’ll hit the breakpoint.

Here on the left you’ll be able to inspect all the Lambda function variables that are coming from AWS. And since you are testing against a deployed endpoint, this setup will work even if there was authentication involved.
Here is a video of it in action.
And that’s it! You can now add other parts of your infrastructure with SST’s constructs, CDK’s constructs, or by adding your own.
As a next step, you can check out this free 300 page ebook on how to build full-stack serverless applications using SST and React. It’s the most widely read resource for serverless and a great way to get started.
Finally, you can remove the resources created in this example using the following command.
$ npx sst remove
You can also check out the source for this example and read about Live Lambda Development.