


Add the Create Note Page
Now that we can signup users and also log them in. Let’s get started with the most important part of our note taking app; the creation of a note.
First we are going to create the form for a note. It’ll take some content and a file as an attachment.
Add the Container
 Create a new file
 src/containers/NewNote.tsx and add the following.
import React, {useRef, useState} from "react";
import Form from "react-bootstrap/Form";
import {useNavigate} from "react-router-dom";
import LoaderButton from "../components/LoaderButton";
import config from "../config";
import "./NewNote.css";

export default function NewNote() {
  const file = useRef<null | File>(null);
  const nav = useNavigate();
  const [content, setContent] = useState("");
  const [isLoading, setIsLoading] = useState(false);

  function validateForm() {
    return content.length > 0;
  }

  function handleFileChange(event: React.ChangeEvent<HTMLInputElement>) {
    if ( event.currentTarget.files === null ) return
    file.current = event.currentTarget.files[0];
  }

  async function handleSubmit(event: React.FormEvent<HTMLFormElement>) {
    event.preventDefault();

    if (file.current && file.current.size > config.MAX_ATTACHMENT_SIZE) {
      alert(
        `Please pick a file smaller than ${
          config.MAX_ATTACHMENT_SIZE / 1000000
        } MB.`
      );
      return;
    }

    setIsLoading(true);
  }

  return (
    <div className="NewNote">
      <Form onSubmit={handleSubmit}>
        <Form.Group controlId="content">
          <Form.Control
            value={content}
            as="textarea"
            onChange={(e) => setContent(e.target.value)}
          />
        </Form.Group>
        <Form.Group className="mt-2" controlId="file">
          <Form.Label>Attachment</Form.Label>
          <Form.Control onChange={handleFileChange} type="file" />
        </Form.Group>
        <LoaderButton
          size="lg"
          type="submit"
          variant="primary"
          isLoading={isLoading}
          disabled={!validateForm()}
        >
          Create
        </LoaderButton>
      </Form>
    </div>
  );
}
Everything is fairly standard here, except for the file input. Our form elements so far have been controlled components, as in their value is directly controlled by the state of the component. However, in the case of the file input we want the browser to handle this state. So instead of useState we’ll use the useRef hook. The main difference between the two is that useRef does not cause the component to re-render. It simply tells React to store a value for us so that we can use it later. We can set/get the current value of a ref by using its current property. Just as we do when the user selects a file.
file.current = event.target.files[0];
Currently, our handleSubmit does not do a whole lot other than limiting the file size of our attachment. We are going to define this in our config.
So add the following to our src/config.ts below the const config = { line.
// Frontend config
MAX_ATTACHMENT_SIZE: 5000000,
Let’s also add the styles for our form in src/containers/NewNote.css.
.NewNote form textarea {
  height: 300px;
  font-size: 1.5rem;
}
Add the Route
Finally, add our container as a route in src/Routes.tsx below our signup route.
<Route path="/notes/new" element={<NewNote />} />
And include our component in the header.
import NewNote from "./containers/NewNote.tsx";
Now if we switch to our browser and navigate /notes/new we should see our newly created form. Try adding some content, uploading a file, and hitting submit to see it in action.
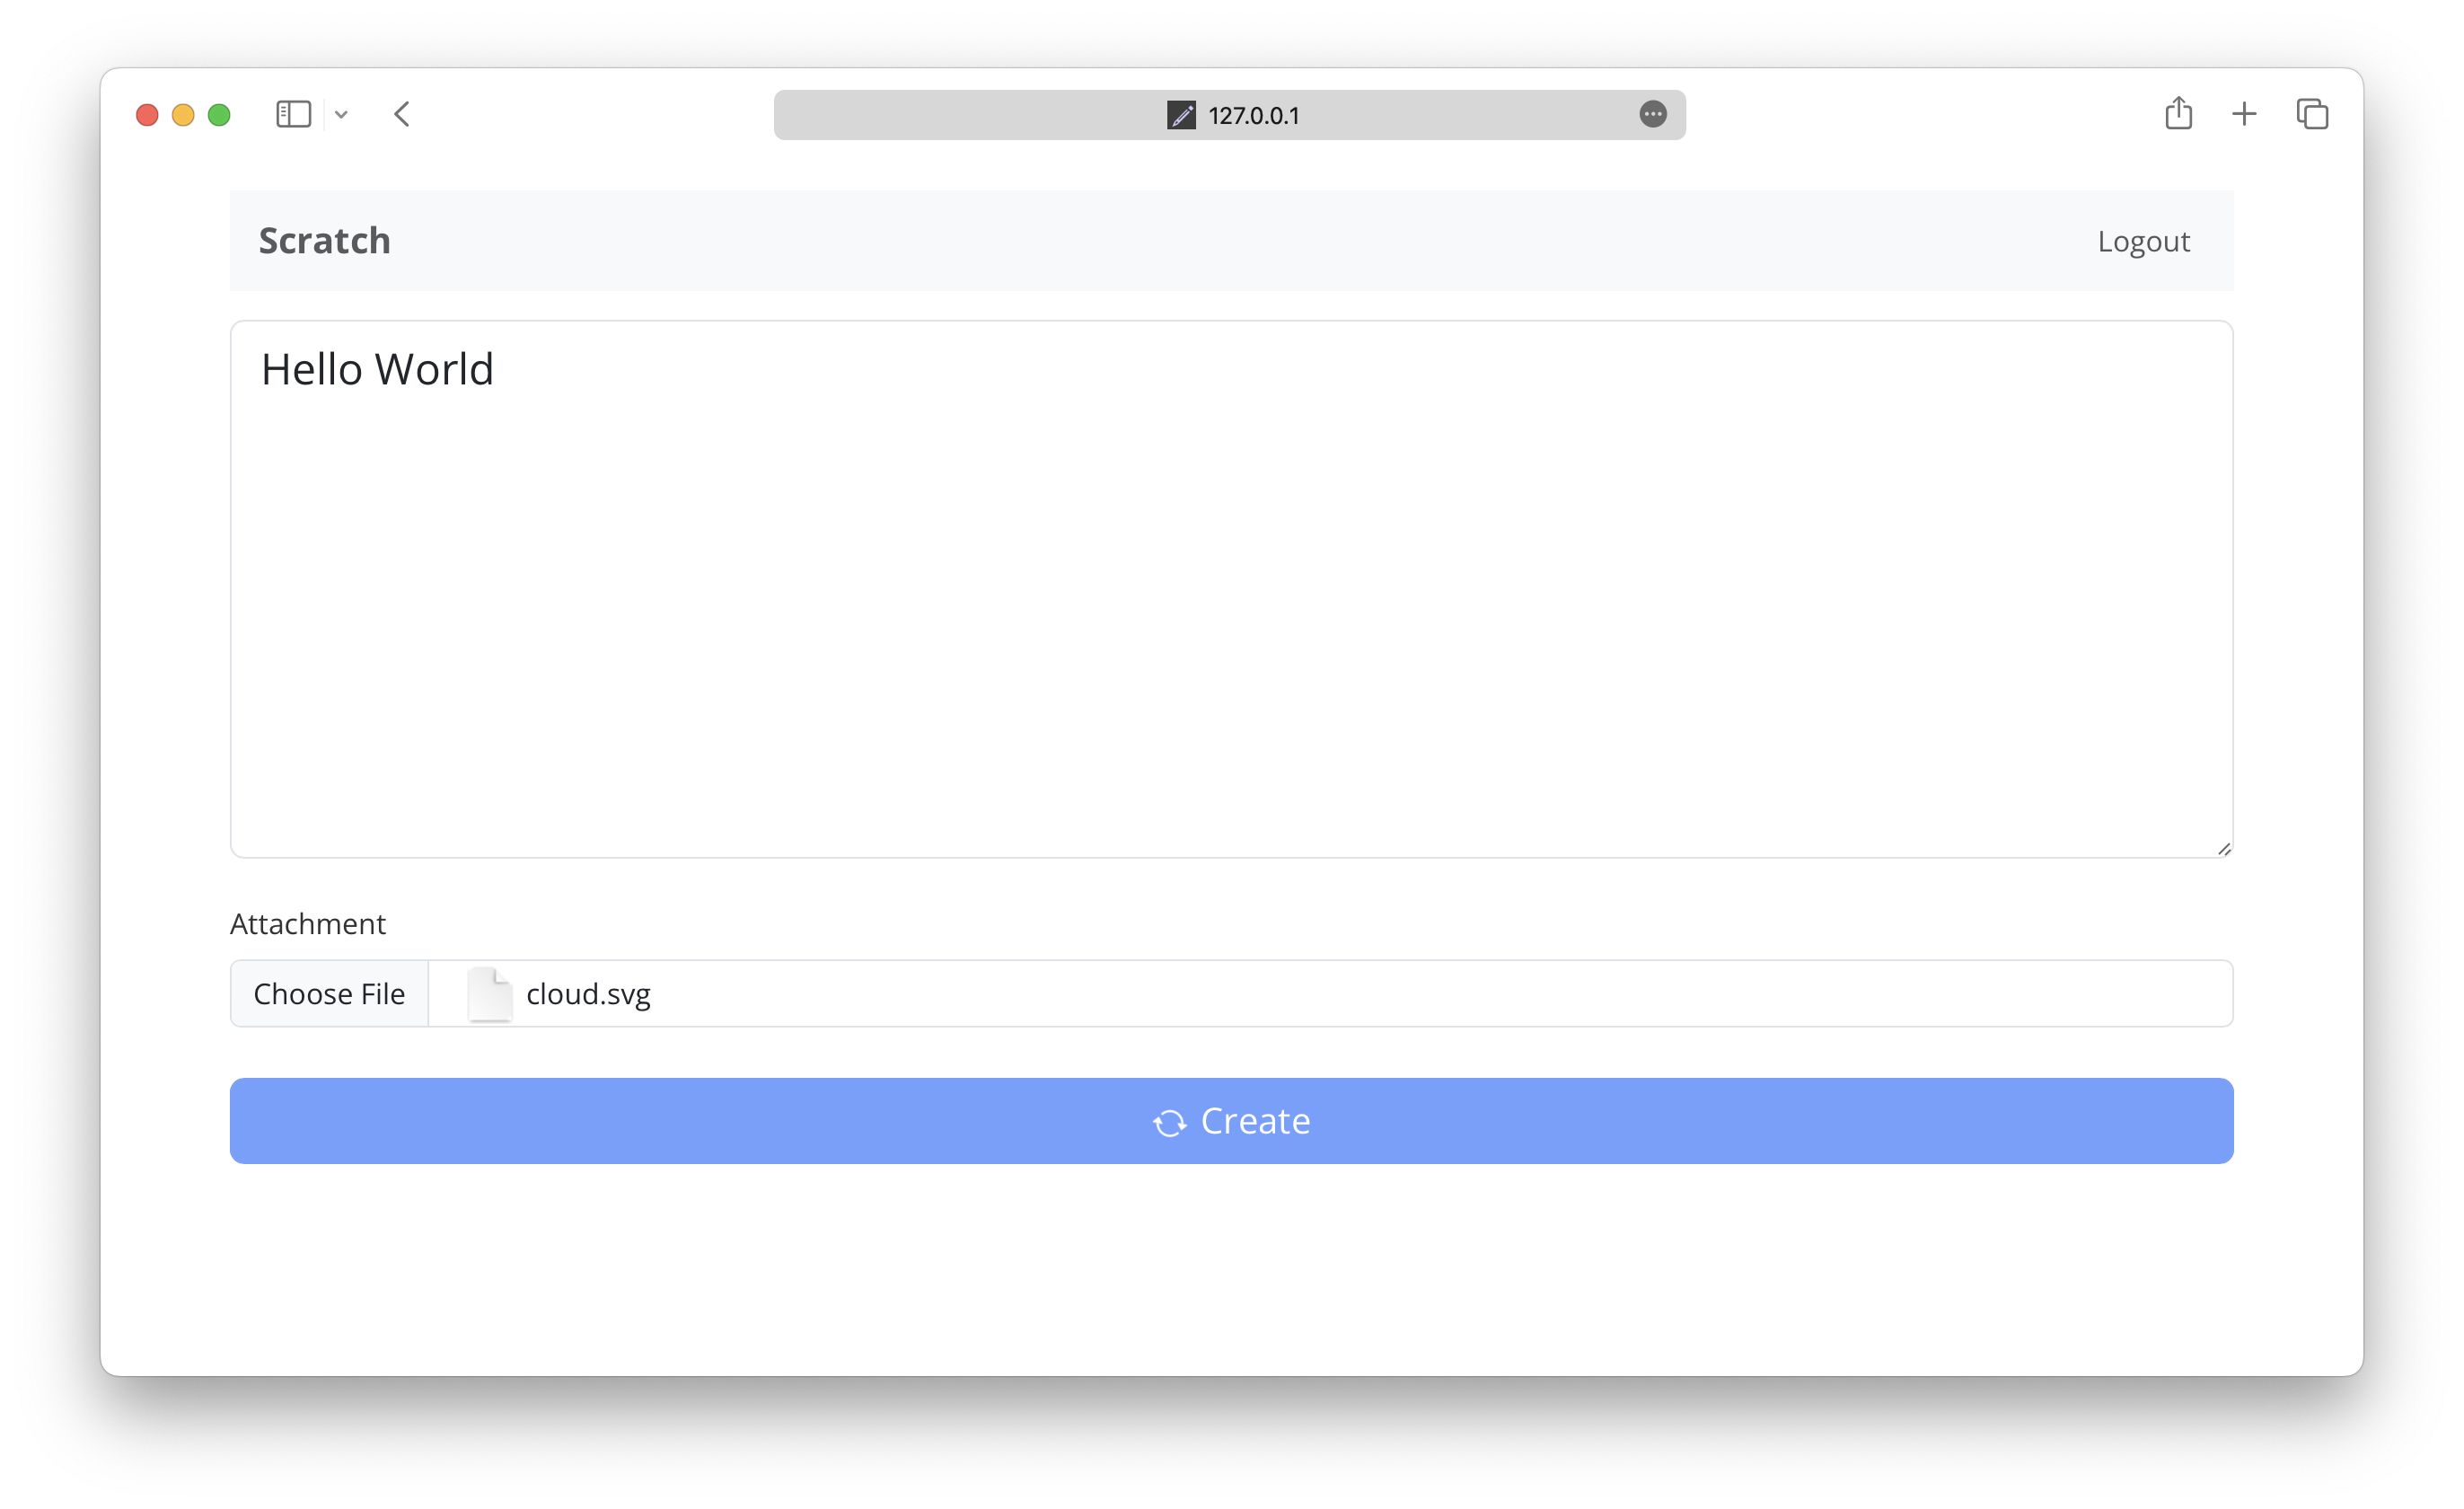
Next, let’s get into connecting this form to our API.
For help and discussion
Comments on this chapter