


Create a New React.js App
We are now ready to work on our frontend. So far we’ve built and deployed our backend API and infrastructure. We are now going to build a web app that connects to our backend.
We are going to create a single page app using React.js. We’ll use the Vite project to set everything up.
Create a New React App
 Run the following command in the
 packages/ directory.
$ pnpm create vite frontend -- --template react-ts
This will create your new project in the frontend/ directory.
Now install the dependencies.
$ cd frontend
$ pnpm install
This should take a second to run.
Loading SST Environment Variables
We also want to load the environment variables from our backend. To do this, we’ll be using the sst bind CLI. It’ll find the environment variables from our SST app and load it while starting the React development environment. We’ll set these environment variables below.
Run the following in the packages/frontend/ directory.
$ pnpm add --save-dev sst
To use the CLI, we’ll add it to our package.json scripts.
Replace the dev script in your packages/frontend/package.json.
"dev": "vite",
With.
"dev": "sst bind vite",
Add the React App to SST
We are going to be deploying our React app to AWS. To do that we’ll be using the SST StaticSite construct.
Create a new file in stacks/FrontendStack.ts and add the following.
import { StackContext, StaticSite, use } from "sst/constructs";
import { ApiStack } from "./ApiStack";
import { AuthStack } from "./AuthStack";
import { StorageStack } from "./StorageStack";

export function FrontendStack({ stack, app }: StackContext) {
  const { api } = use(ApiStack);
  const { auth } = use(AuthStack);
  const { bucket } = use(StorageStack);

  // Define our React app
  const site = new StaticSite(stack, "ReactSite", {
    path: "packages/frontend",
    buildCommand: "pnpm run build",
    buildOutput: "dist",
    // Pass in our environment variables
    environment: {
      VITE_API_URL: api.url,
      VITE_REGION: app.region,
      VITE_BUCKET: bucket.bucketName,
      VITE_USER_POOL_ID: auth.userPoolId,
      VITE_USER_POOL_CLIENT_ID: auth.userPoolClientId,
      VITE_IDENTITY_POOL_ID: auth.cognitoIdentityPoolId || "",
    },
  });

  // Show the url in the output
  stack.addOutputs({
    SiteUrl: site.url,
  });
}
We are creating a new stack in SST. We could’ve used one of the existing stacks but this allows us to show how to connect stacks together.
We are doing a couple of things of note here:
- We are pointing our
StaticSiteconstruct to thepackages/frontend/directory where our React app is. - We are passing in the outputs from our other stacks as environment variables in Vite. This means that we won’t have to hard code them in our React app. The
VITE_*prefix is a convention Vite uses to say that we want to access these in our frontend code. - And finally, we are outputting out the URL of our React app.
Adding to the app
Let’s add this new stack to the rest of our app.
Open sst.config.ts and add the following.
Replace the stacks function with:
stacks(app) {
  app
    .stack(StorageStack)
    .stack(ApiStack)
    .stack(AuthStack)
    .stack(FrontendStack);
},
And add the following import.
import { FrontendStack } from "./stacks/FrontendStack";
Deploy Our Changes
If you switch over to your terminal, you will notice that your changes are being deployed.
✓  Deployed:
   ...
   FrontendStack
Start the React App
Let’s start our React development environment.
In the packages/frontend/ directory run.
$ pnpm run dev
This should show where your frontend is running locally.
  VITE v4.4.9  ready in 227 ms

  ➜  Local:   http://127.0.0.1:5173/
  ➜  Network: use --host to expose
  ➜  press h to show help
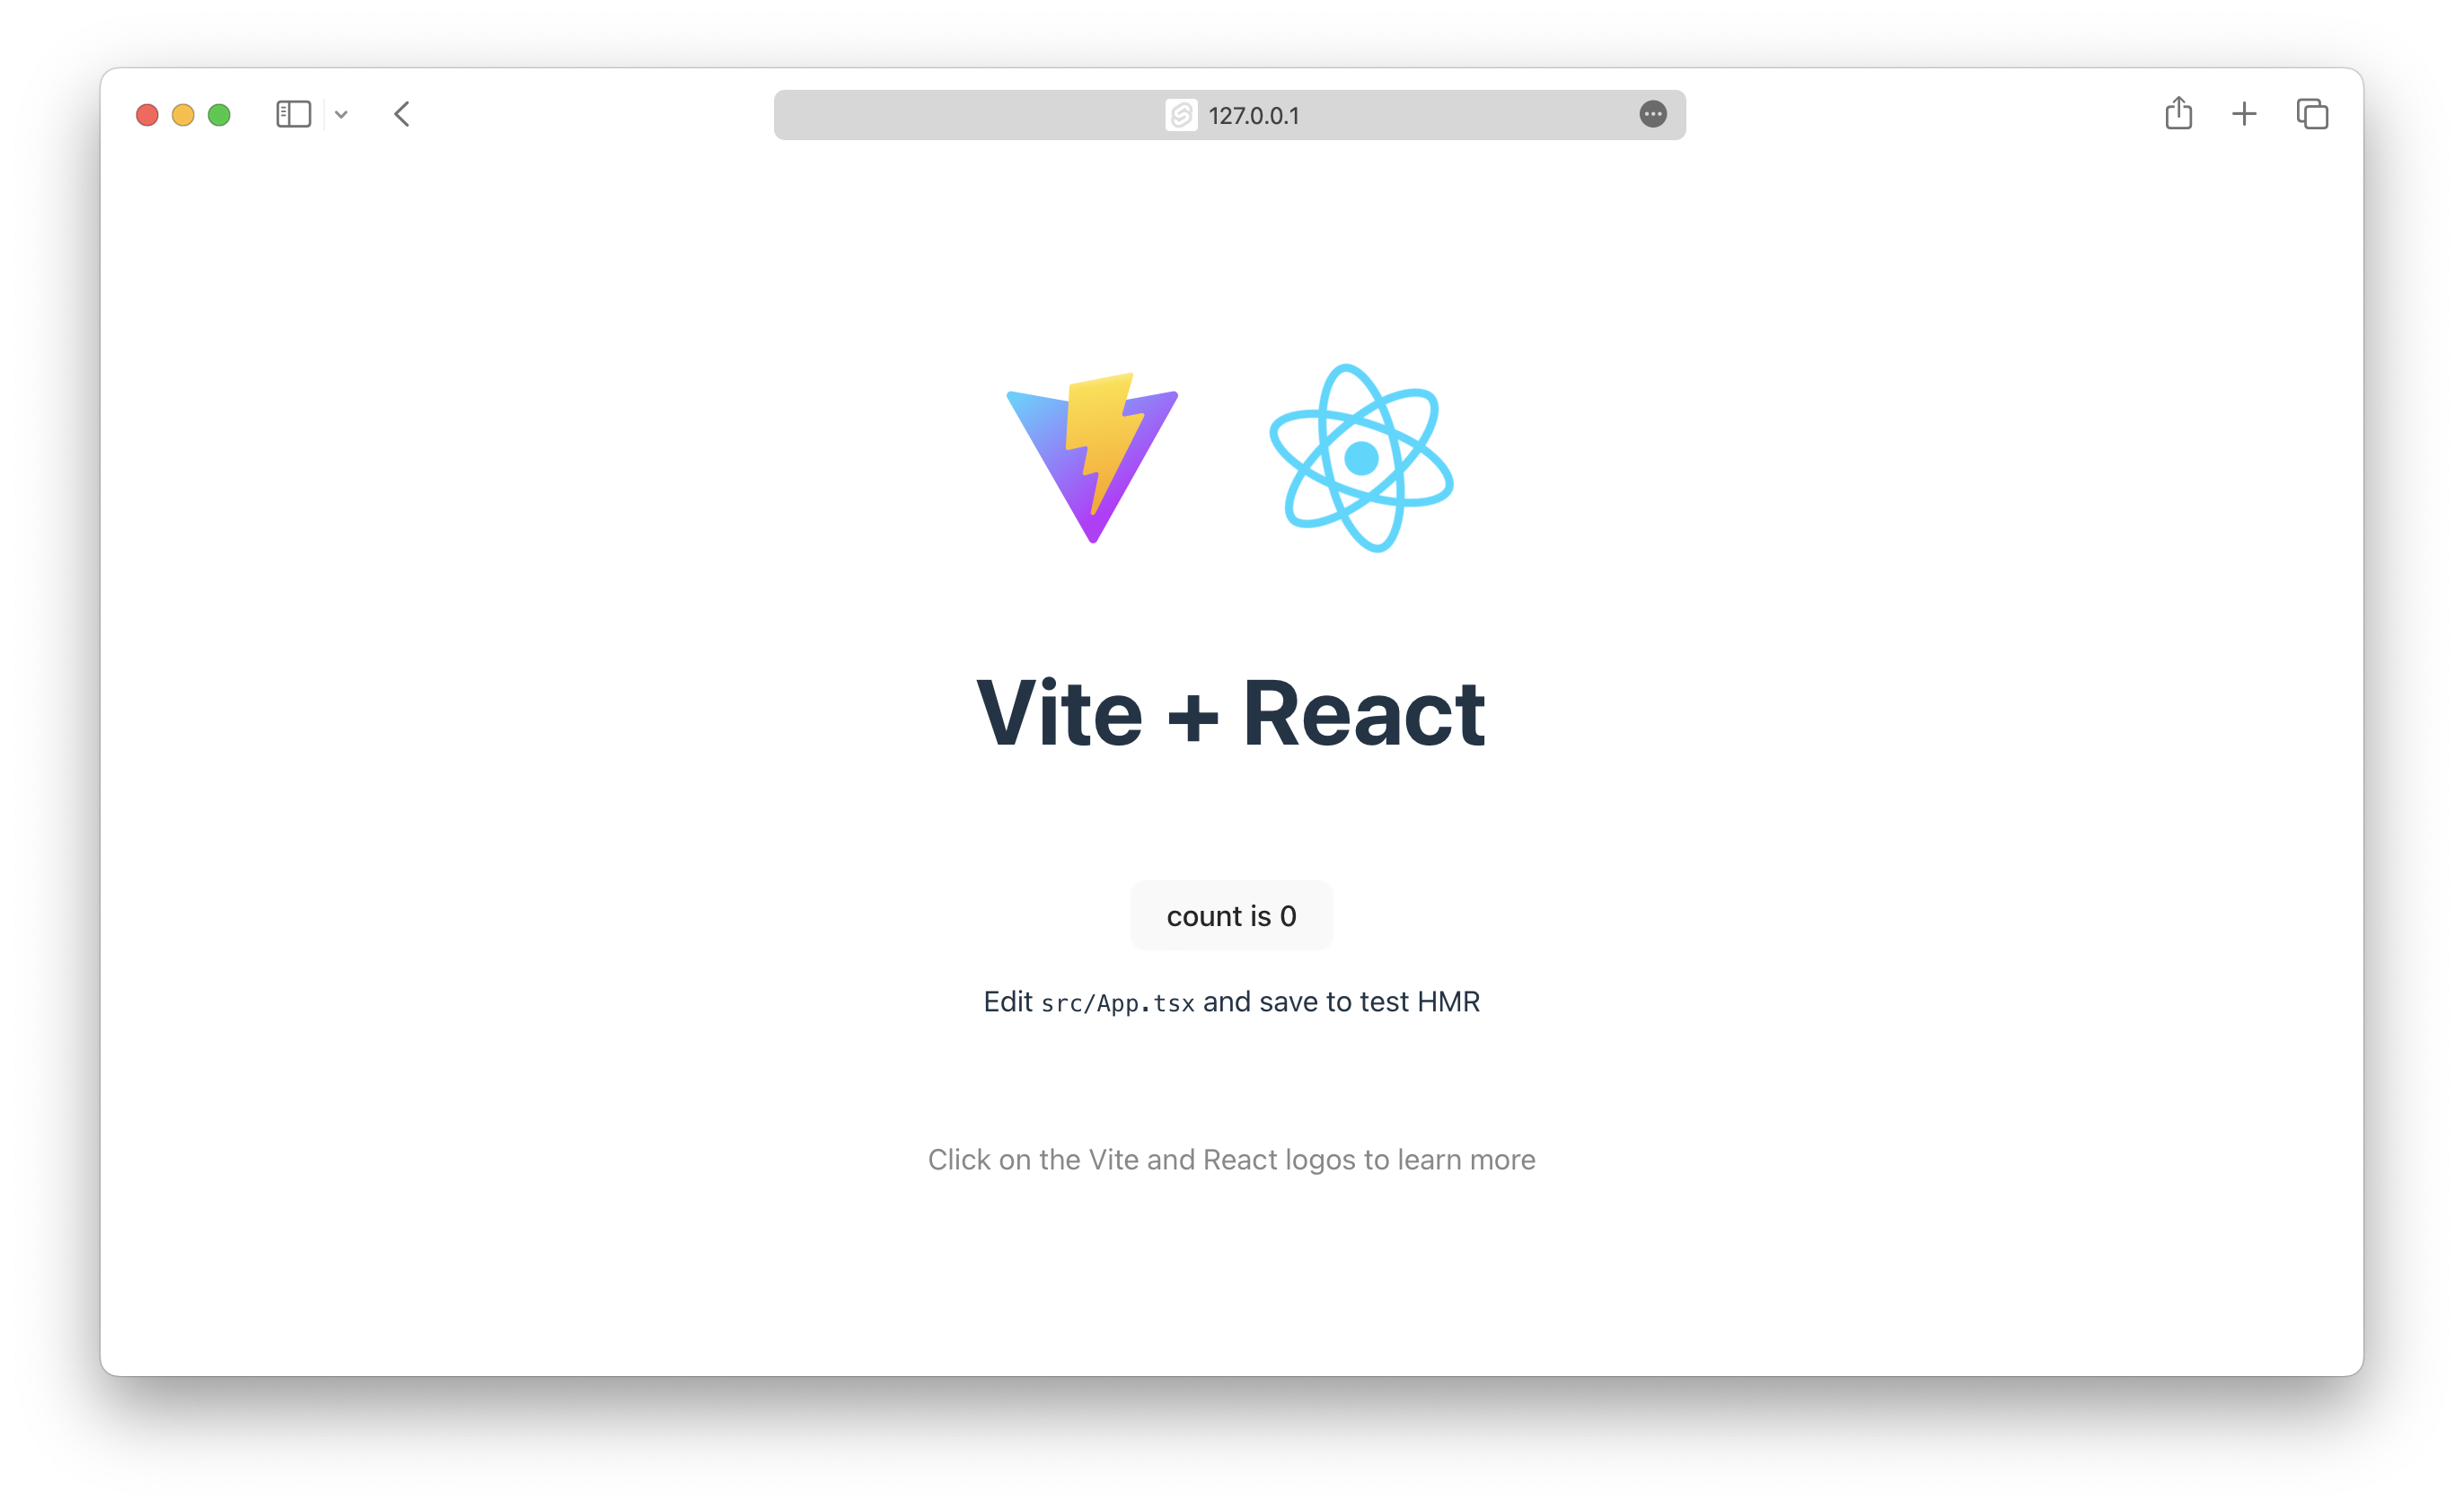
If you head to that URL in your browser you should see.
Change the Title
Let’s quickly change the title of our note taking app.
Open up packages/frontend/index.html and edit the title tag to the following:
<title>Scratch - A simple note taking app</title>
Now we are ready to build our frontend! We are going to start by creating our app icon and updating the favicons.
For help and discussion
Comments on this chapter