


Render the Note Form
Now that our container loads a note using the useEffect method, let’s go ahead and render the form that we’ll use to edit it.
 Replace our placeholder
 return statement in src/containers/Notes.tsx with the following.
function validateForm() {
  return content.length > 0;
}

function formatFilename(str: string) {
  return str.replace(/^\w+-/, "");
}

function handleFileChange(event: React.ChangeEvent<HTMLInputElement>) {
  if (event.currentTarget.files === null) return;
  file.current = event.currentTarget.files[0];
}

async function handleSubmit(event: React.FormEvent<HTMLFormElement>) {
  let attachment;

  event.preventDefault();

  if (file.current && file.current.size > config.MAX_ATTACHMENT_SIZE) {
    alert(
      `Please pick a file smaller than ${
        config.MAX_ATTACHMENT_SIZE / 1000000
      } MB.`
    );
    return;
  }

  setIsLoading(true);
}

async function handleDelete(event: React.FormEvent<HTMLFormElement>) {
  event.preventDefault();

  const confirmed = window.confirm(
    "Are you sure you want to delete this note?"
  );

  if (!confirmed) {
    return;
  }

  setIsDeleting(true);
}

return (
  <div className="Notes">
    {note && (
      <Form onSubmit={handleSubmit}>
        <Stack gap={3}>
          <Form.Group controlId="content">
            <Form.Control
              size="lg"
              as="textarea"
              value={content}
              onChange={(e) => setContent(e.target.value)}
            />
          </Form.Group>
          <Form.Group className="mt-2" controlId="file">
            <Form.Label>Attachment</Form.Label>
            {note.attachment && (
              <p>
                <a
                  target="_blank"
                  rel="noopener noreferrer"
                  href={note.attachmentURL}
                >
                  {formatFilename(note.attachment)}
                </a>
              </p>
            )}
            <Form.Control onChange={handleFileChange} type="file" />
          </Form.Group>
          <Stack gap={1}>
            <LoaderButton
              size="lg"
              type="submit"
              isLoading={isLoading}
              disabled={!validateForm()}
            >
              Save
            </LoaderButton>
            <LoaderButton
              size="lg"
              variant="danger"
              onClick={handleDelete}
              isLoading={isDeleting}
            >
              Delete
            </LoaderButton>
          </Stack>
        </Stack>
      </Form>
    )}
  </div>
);
To complete this, let’s add isLoading and isDeleting below the state and ref declarations at the top of our Notes component function.
const [isLoading, setIsLoading] = useState(false);
const [isDeleting, setIsDeleting] = useState(false);
Replace the const [note, setNote] definition with the right type.
const [note, setNote] = useState<null | NoteType>(null);
Let’s also add some styles by adding the following to src/containers/Notes.css.
.Notes form textarea {
  height: 300px;
  font-size: 1.5rem;
}
And finally, let’s add the imports.
import config from "../config";
import Form from "react-bootstrap/Form";
import { NoteType } from "../types/note";
import Stack from "react-bootstrap/Stack";
import LoaderButton from "../components/LoaderButton";
import "./Notes.css";
We are doing a few things here:
-
We render our form only when the
notestate variable is set. -
Inside the form we conditionally render the part where we display the attachment by using
note.attachment. -
We format the attachment URL using
formatFilenameby stripping the timestamp we had added to the filename while uploading it. -
We also added a delete button to allow users to delete the note. And just like the submit button it too needs a flag that signals that the call is in progress. We call it
isDeleting. -
We handle attachments with a file input exactly like we did in the
NewNotecomponent. -
Our delete button also confirms with the user if they want to delete the note using the browser’s
confirmdialog.
And that’s it. If you switch over to your browser, you should see the note loaded.
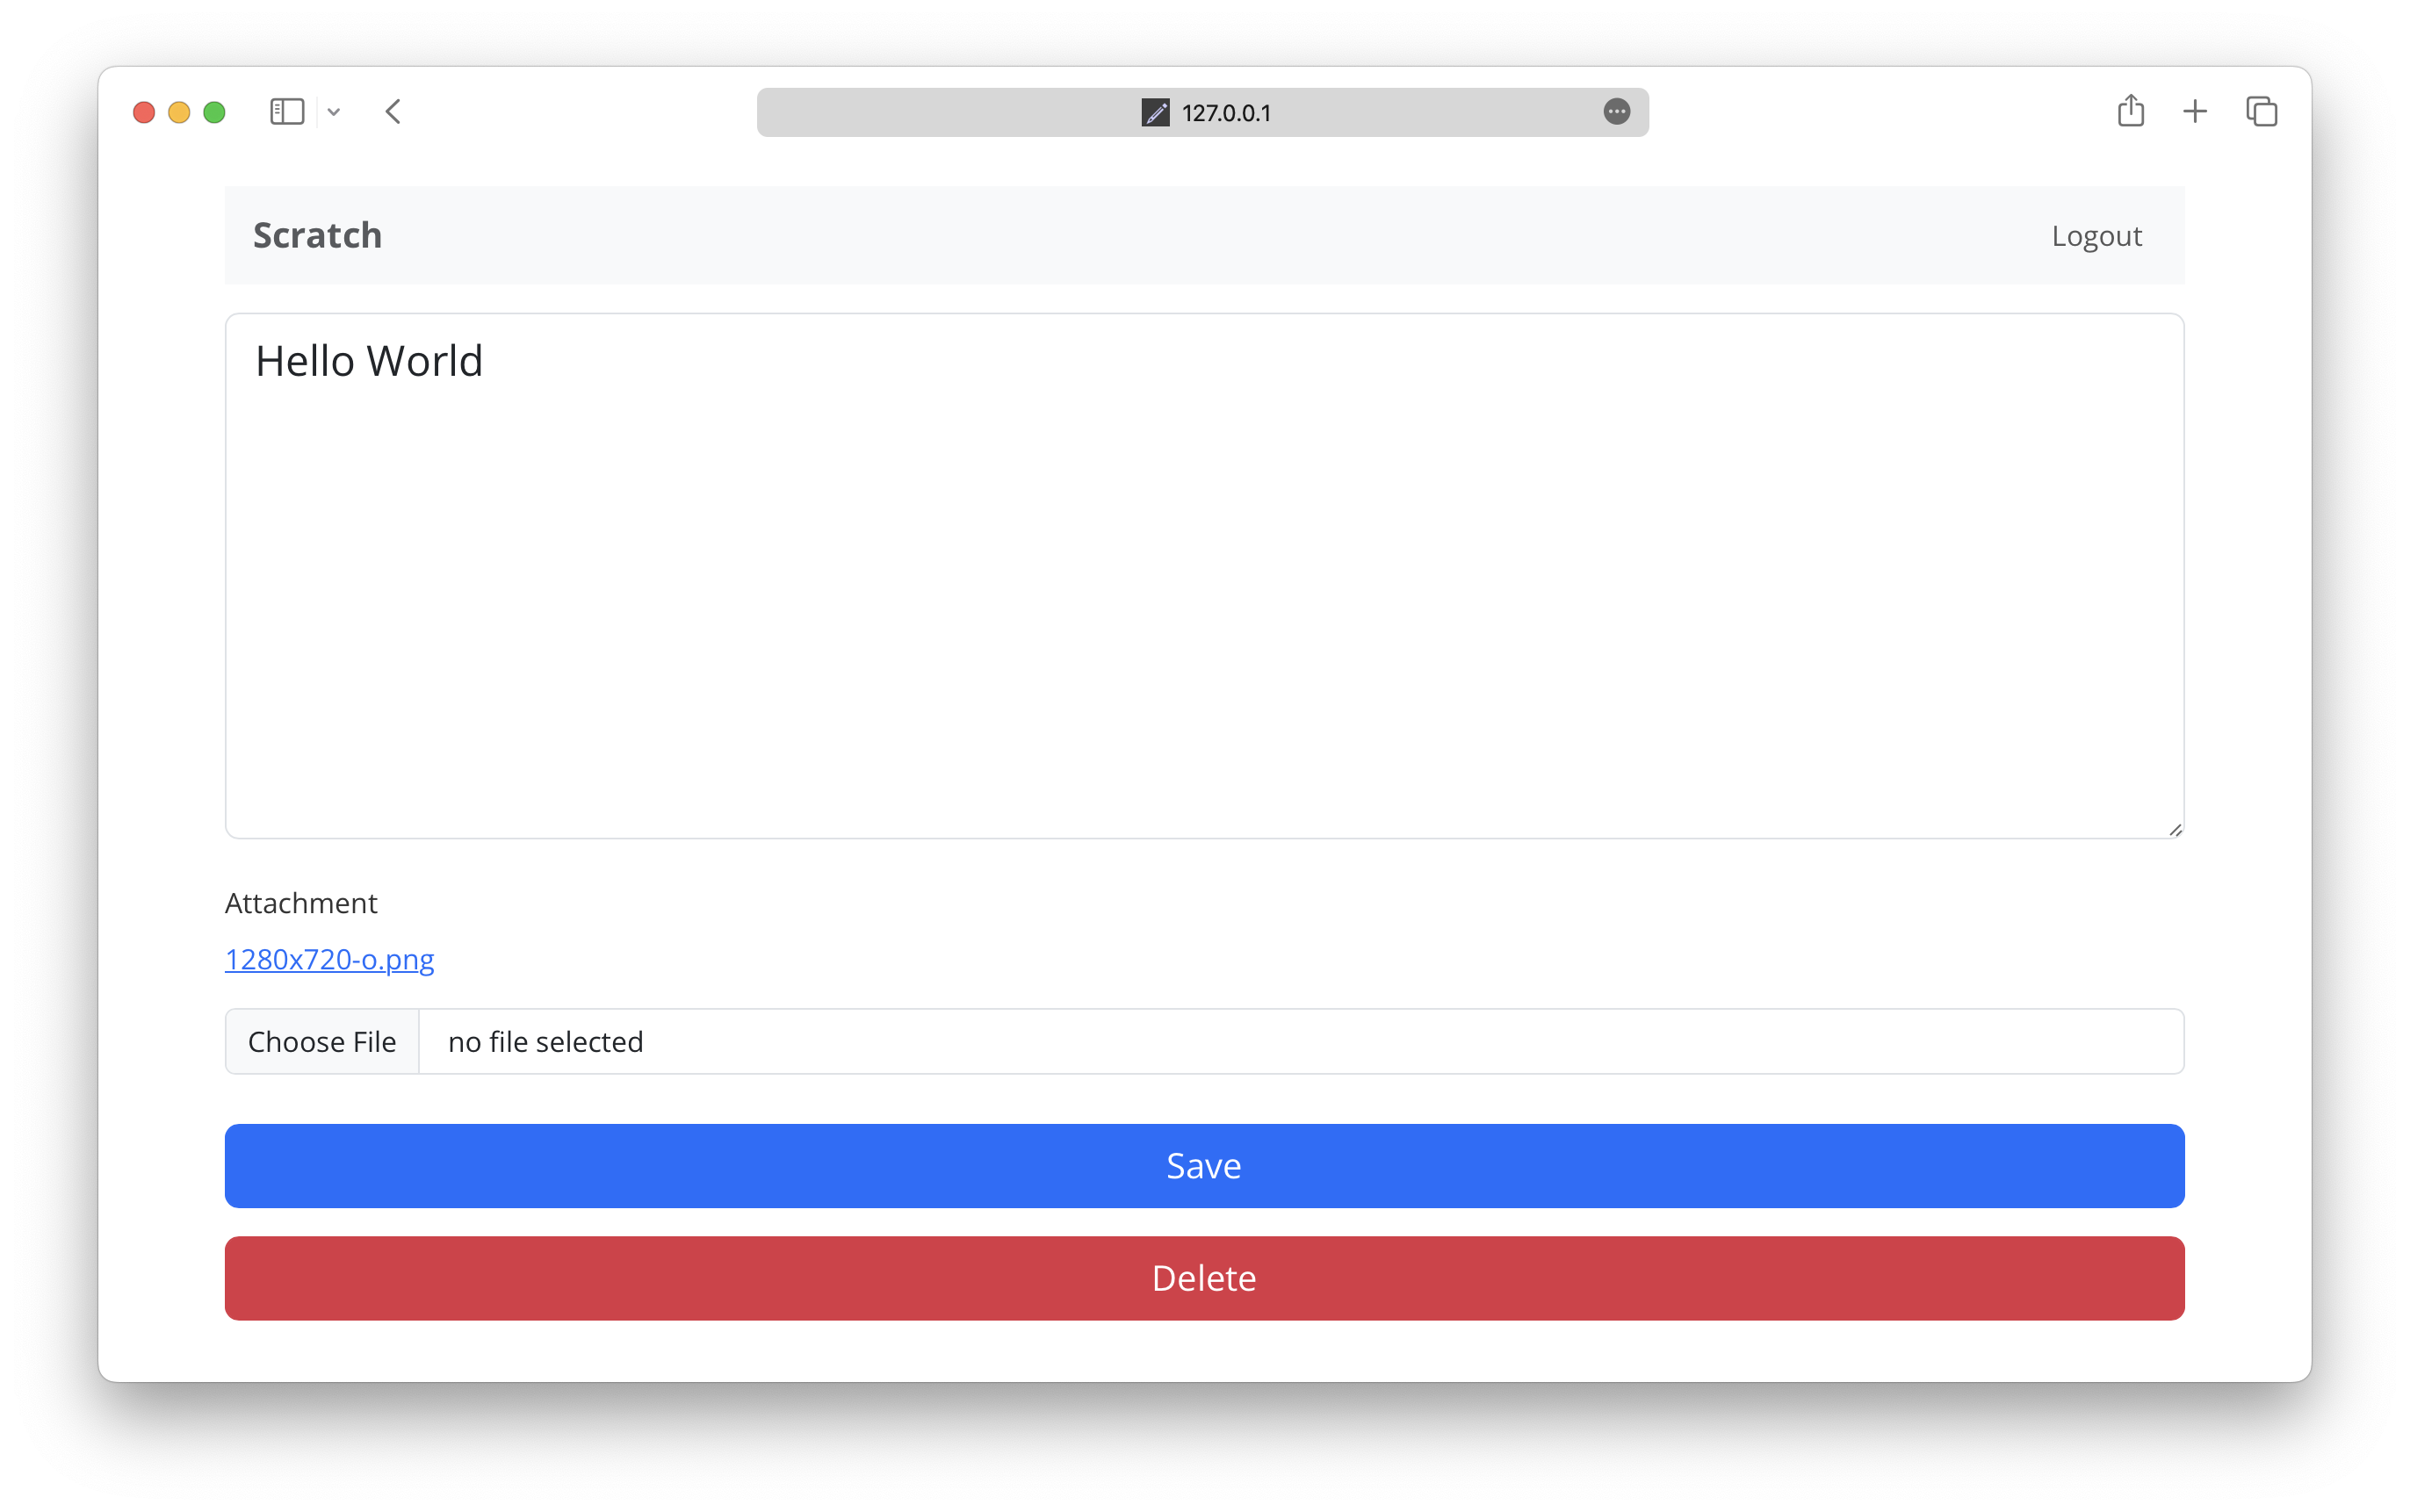
Next, we’ll look at saving the changes we make to our note.
For help and discussion
Comments on this chapter