


Add the Session to the State
To complete the login process we would need to update the app state with the session to reflect that the user has logged in.
Update the App State
First we’ll start by updating the application state by setting that the user is logged in. We might be tempted to store this in the Login container, but since we are going to use this in a lot of other places, it makes sense to lift up the state. The most logical place to do this will be in our App component.
To save the user’s login state, let’s include the useState hook in src/App.tsx.
 Add the following to the top of our
 App component function.
const [isAuthenticated, userHasAuthenticated] = useState(false);
Then import it.
import { useState } from "react";
This initializes the isAuthenticated state variable to false, as in the user is not logged in. And calling userHasAuthenticated updates it. But for the Login container to call this method we need to pass a reference of this method to it.
Store the Session in the Context
We are going to have to pass the session related info to all of our containers. This is going to be tedious if we pass it in as a prop, since we’ll have to do that manually for each component. Instead let’s use React Context for this.
We’ll create a context for our entire app that all of our containers will use.
Create a src/lib/ directory in the packages/frontend/ React directory.
$ mkdir src/lib/
We’ll use this to store all our common code.
Add the following file with the content below src/lib/contextLib.ts.
import { createContext, useContext } from "react";

export interface AppContextType {
  isAuthenticated: boolean;
  userHasAuthenticated: React.Dispatch<React.SetStateAction<boolean>>;
}

export const AppContext = createContext<AppContextType>({
  isAuthenticated: false,
  userHasAuthenticated: useAppContext,
});

export function useAppContext() {
  return useContext(AppContext);
}
This really simple bit of code is creating and exporting two things:
- Using the
createContextAPI to create a new context for our app. - Using the
useContextReact Hook to access the context.
If you are not sure how Contexts work, don’t worry, it’ll make more sense once we use it.
Import our new app context in the header of src/App.tsx.
import { AppContext, AppContextType } from "./lib/contextLib";
Now to add our session to the context and to pass it to our containers:
Wrap our Routes component in the return statement of src/App.tsx.
<Routes />
With this.
<AppContext.Provider
  value={{ isAuthenticated, userHasAuthenticated } as AppContextType}
>
  <Routes />
</AppContext.Provider>
React Context’s are made up of two parts. The first is the Provider. This is telling React that all the child components inside the Context Provider should be able to access what we put in it. In this case we are putting in the following object:
{
  isAuthenticated, userHasAuthenticated;
}
Use the Context to Update the State
The second part of the Context API is the consumer. We’ll add that to the Login container, src/containers/Login.tsx.
Include the hook by adding it below the export default function Login() { line.
const { userHasAuthenticated } = useAppContext();
And import it in the header of src/containers/Login.tsx.
import { useAppContext } from "../lib/contextLib";
This is telling React that we want to use our app context here and that we want to be able to use the userHasAuthenticated function.
Finally, replace the alert('Logged in'); line with the following in src/containers/Login.tsx.
userHasAuthenticated(true);
Create a Logout Button
We can now use this to display a Logout button once the user logs in. Find the following in our src/App.tsx.
<LinkContainer to="/signup">
  <Nav.Link>Signup</Nav.Link>
</LinkContainer>
<LinkContainer to="/login">
  <Nav.Link>Login</Nav.Link>
</LinkContainer>
And replace it with this:
{isAuthenticated ? (
    <Nav.Link onClick={handleLogout}>Logout</Nav.Link>
  ) : (
    <>
      <LinkContainer to="/signup">
        <Nav.Link>Signup</Nav.Link>
      </LinkContainer>
      <LinkContainer to="/login">
        <Nav.Link>Login</Nav.Link>
      </LinkContainer>
    </>
  )}
The <> or Fragment component can be thought of as a placeholder component. We need this because in the case the user is not logged in, we want to render two links. To do this we would need to wrap it inside a single component, like a div. But by using the Fragment component it tells React that the two links are inside this component but we don’t want to render any extra HTML.
And add this handleLogout method to src/App.tsx above the return statement as well.
function handleLogout() {
  userHasAuthenticated(false);
}
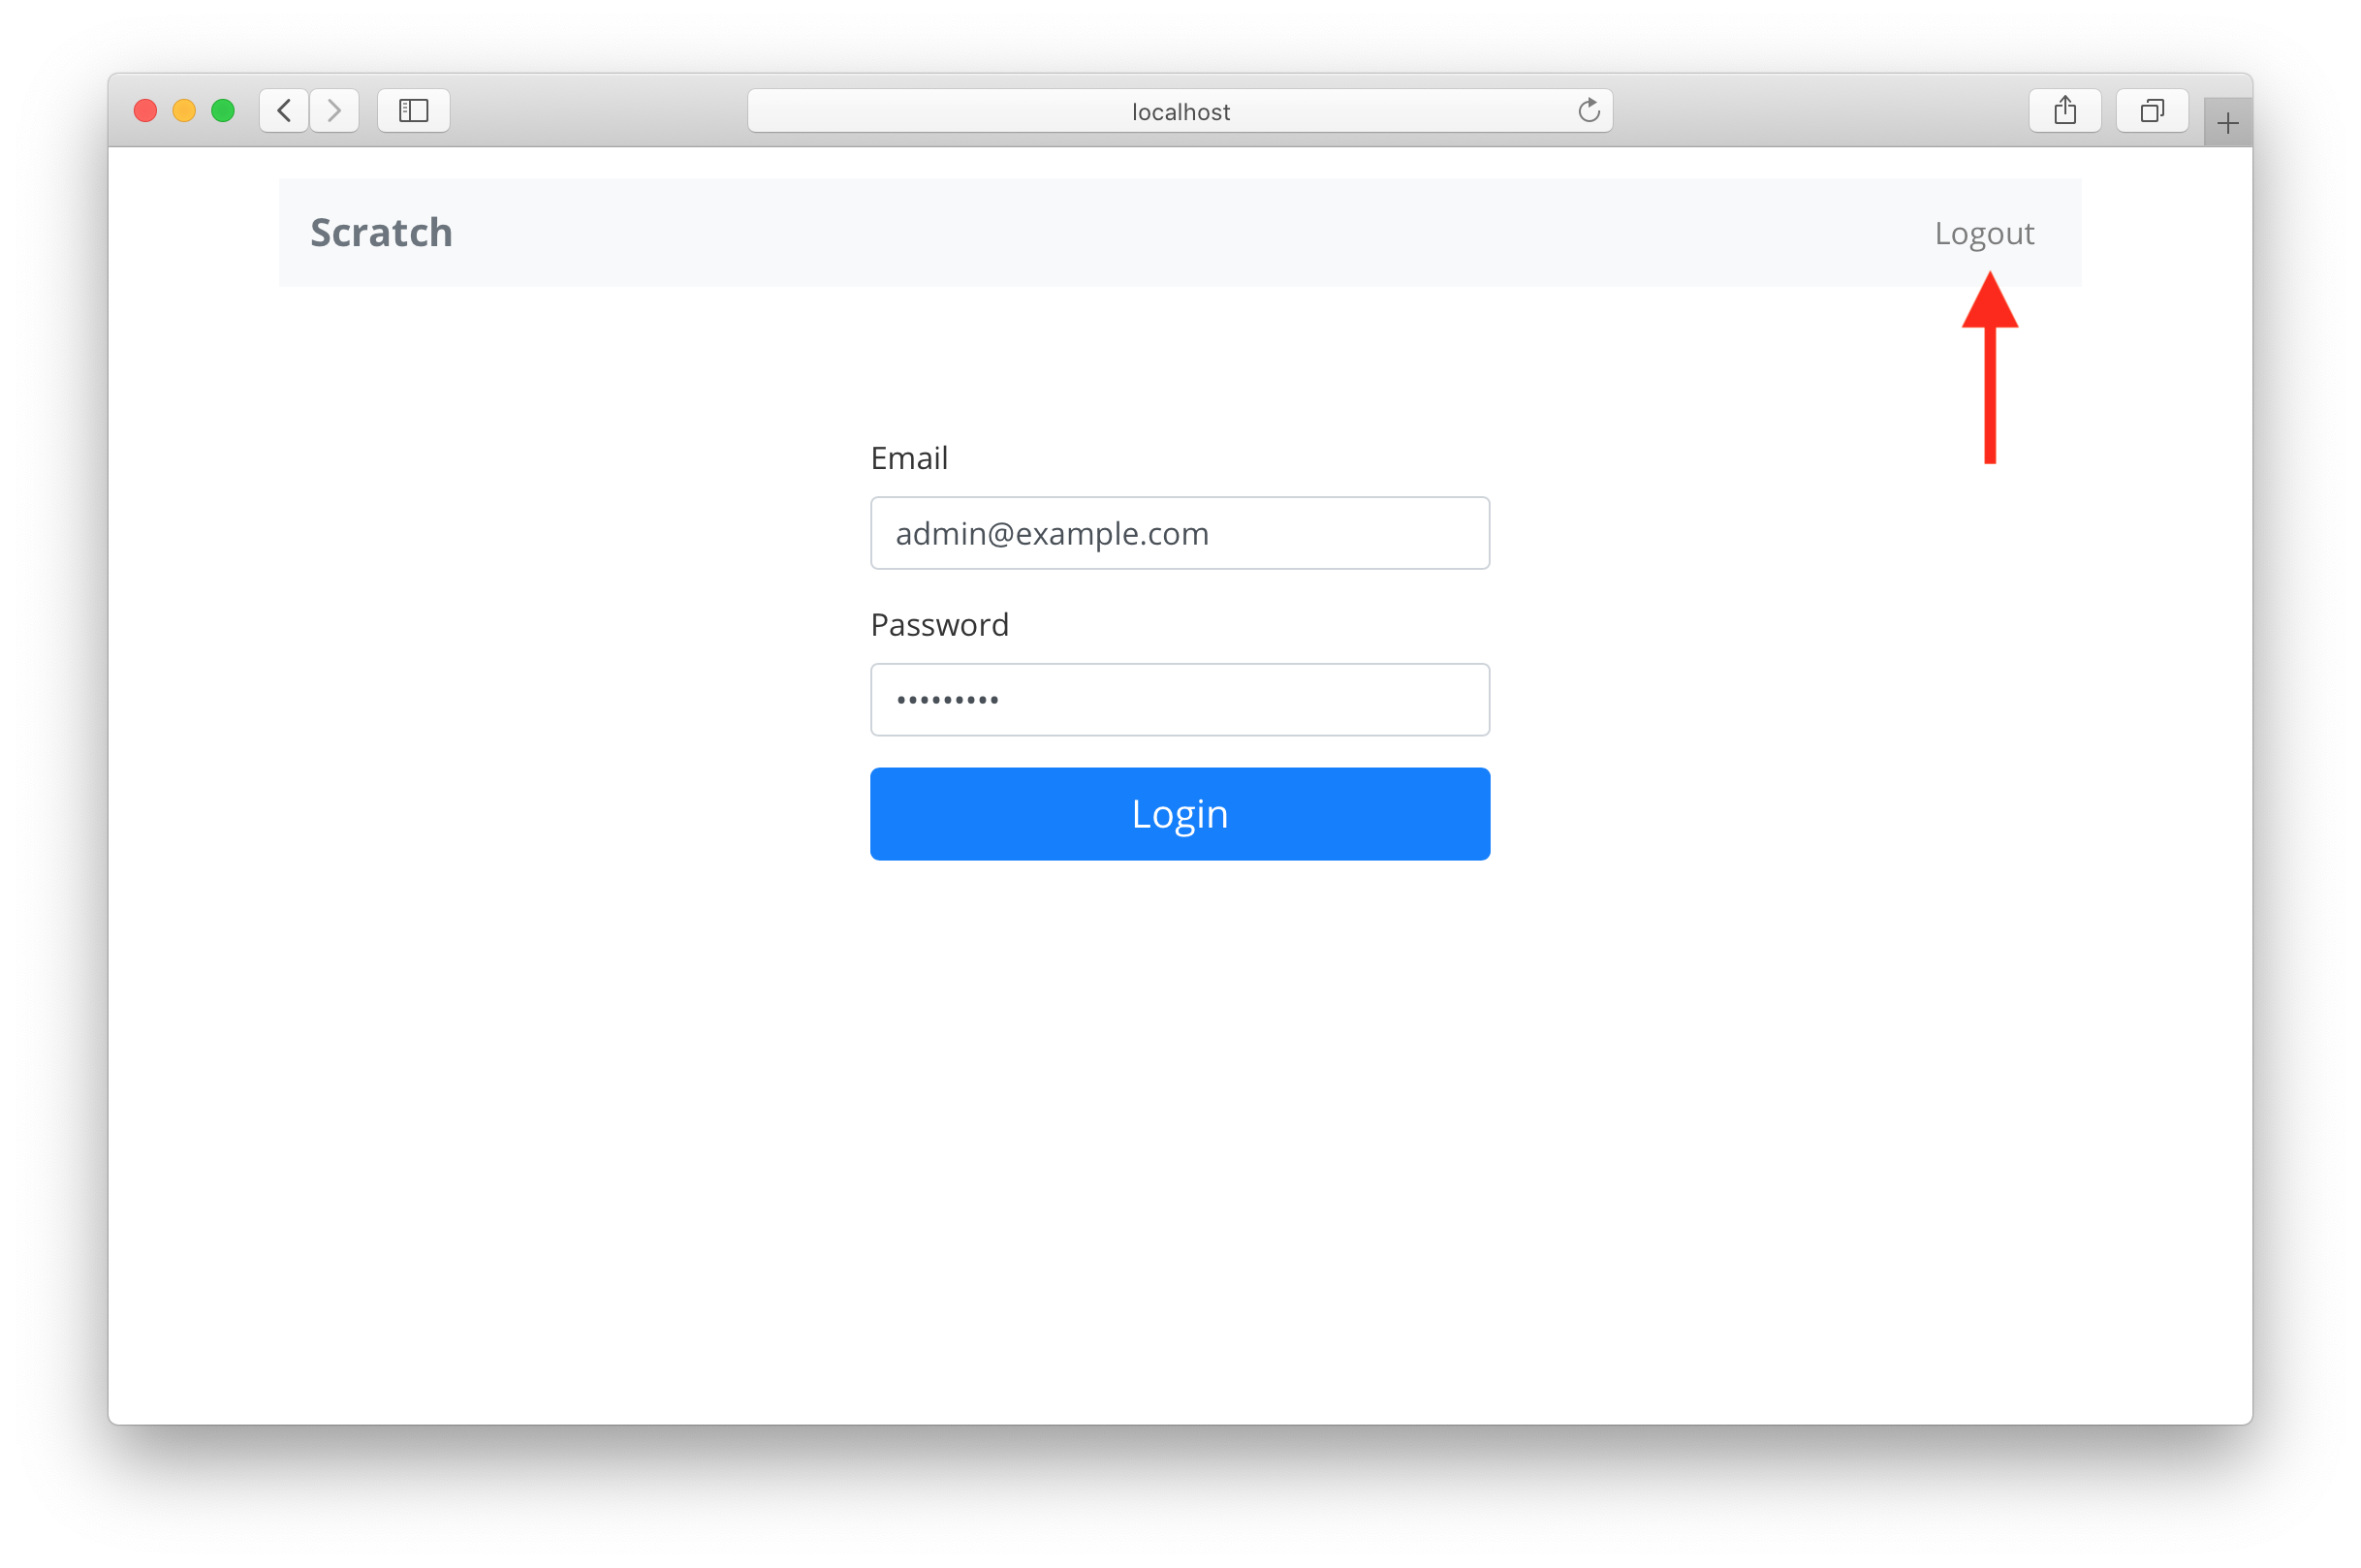
Now head over to your browser and try logging in with the admin credentials we created in the Secure Our Serverless APIs chapter. You should see the Logout button appear right away.
Now if you refresh your page you should be logged out again. This is because we are not initializing the state from the browser session. Let’s look at how to do that next.
For help and discussion
Comments on this chapter